React Native App Setup: The Complete Step-by-Step Guide
Master your react native app setup with this practical guide. From Expo vs bare workflow to EAS build and store submission, follow actionable steps for success.

Have you really finished your React Native app setup when the app runs on your simulator, or have you only completed the easiest part? A successful local build proves that your machine can compile the project. It doesn't prove that signing is correct, store metadata is ready, privacy disclosures are complete, screenshots meet platform requirements, or a reviewer can understand the app.
React Native became a credible cross-platform production path through a distinctly native setup model. The project began as a Facebook hackathon idea in 2013, reached a public preview in January 2015, opened to everyone in March 2015, and released React Native for Android in September 2015, as documented in Facebook's React Native history. That history still explains the practical reality today: shared JavaScript can accelerate product work, but iOS and Android remain separate build, signing, testing, and publishing environments.
Table of Contents
- Navigating Your React Native App Setup Path
- Essential Prerequisites for Development
- Choosing Between Managed and Bare Workflows
- Configuring Native Modules and Build Settings
- Leveraging EAS Build for Simplified Deployment
- Troubleshooting Common React Native App Setup Issues
- Preparing for App Store Submission and Launch
<a id="navigating-your-react-native-app-setup-path"></a>
Navigating Your React Native App Setup Path
The first decision in a React Native app setup isn't which template to run. It's whether your project should begin with Expo's managed tooling or a bare React Native workflow. Choose poorly and every later task becomes harder, from installing native dependencies to maintaining build files and diagnosing release failures.
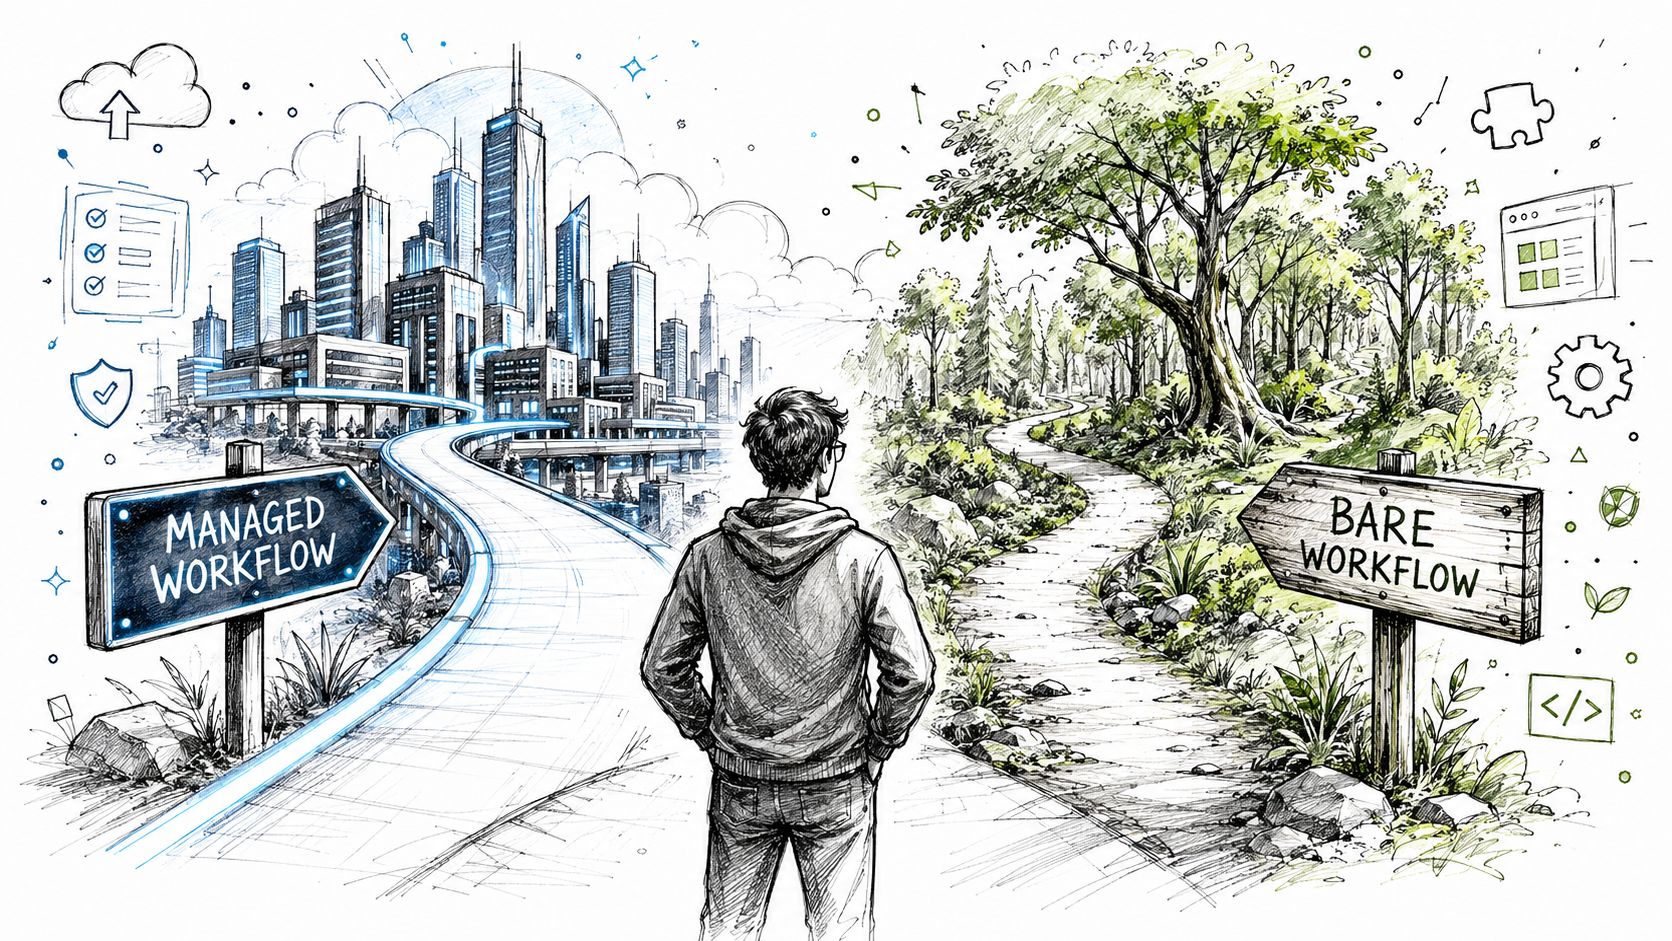
Start with the managed path unless you already know you need direct native customization. Expo gives a new project a more structured foundation, supports rapid JavaScript iteration, and reduces the amount of platform configuration you must touch before validating the product. That's valuable during discovery, when the biggest risk is building the wrong app rather than choosing the wrong Gradle setting.
<a id="make-the-workflow-decision-deliberately"></a>
Make the workflow decision deliberately
Use these questions before creating the repository:
- Native code requirements: Will the app depend on a custom iOS framework, a proprietary Android SDK, or a package that requires native changes?
- Release ownership: Does your team want to maintain certificates, native project files, build profiles, and platform-specific configuration directly?
- Development priority: Do you need the fastest route from an empty directory to a working screen, or do you need complete control over every native target?
- Team experience: Can the team confidently debug Xcode and Android Gradle failures when a JavaScript change isn't responsible?
Bare workflows aren't wrong. They're appropriate when native control is a product requirement, not when developers assume more configuration means a more serious app. A managed project can still produce a production application, and a bare project can still suffer from weak release discipline.
Practical rule: Start with the least complex workflow that supports your first production feature. Add native complexity when a real requirement demands it.
Keep the first milestone narrow. Create the project, run it on the intended platforms, verify navigation and environment configuration, and commit a clean baseline before adding analytics, payments, maps, push notifications, or custom native modules. This sequence gives every later failure a known reference point.
<a id="essential-prerequisites-for-development"></a>
Essential Prerequisites for Development
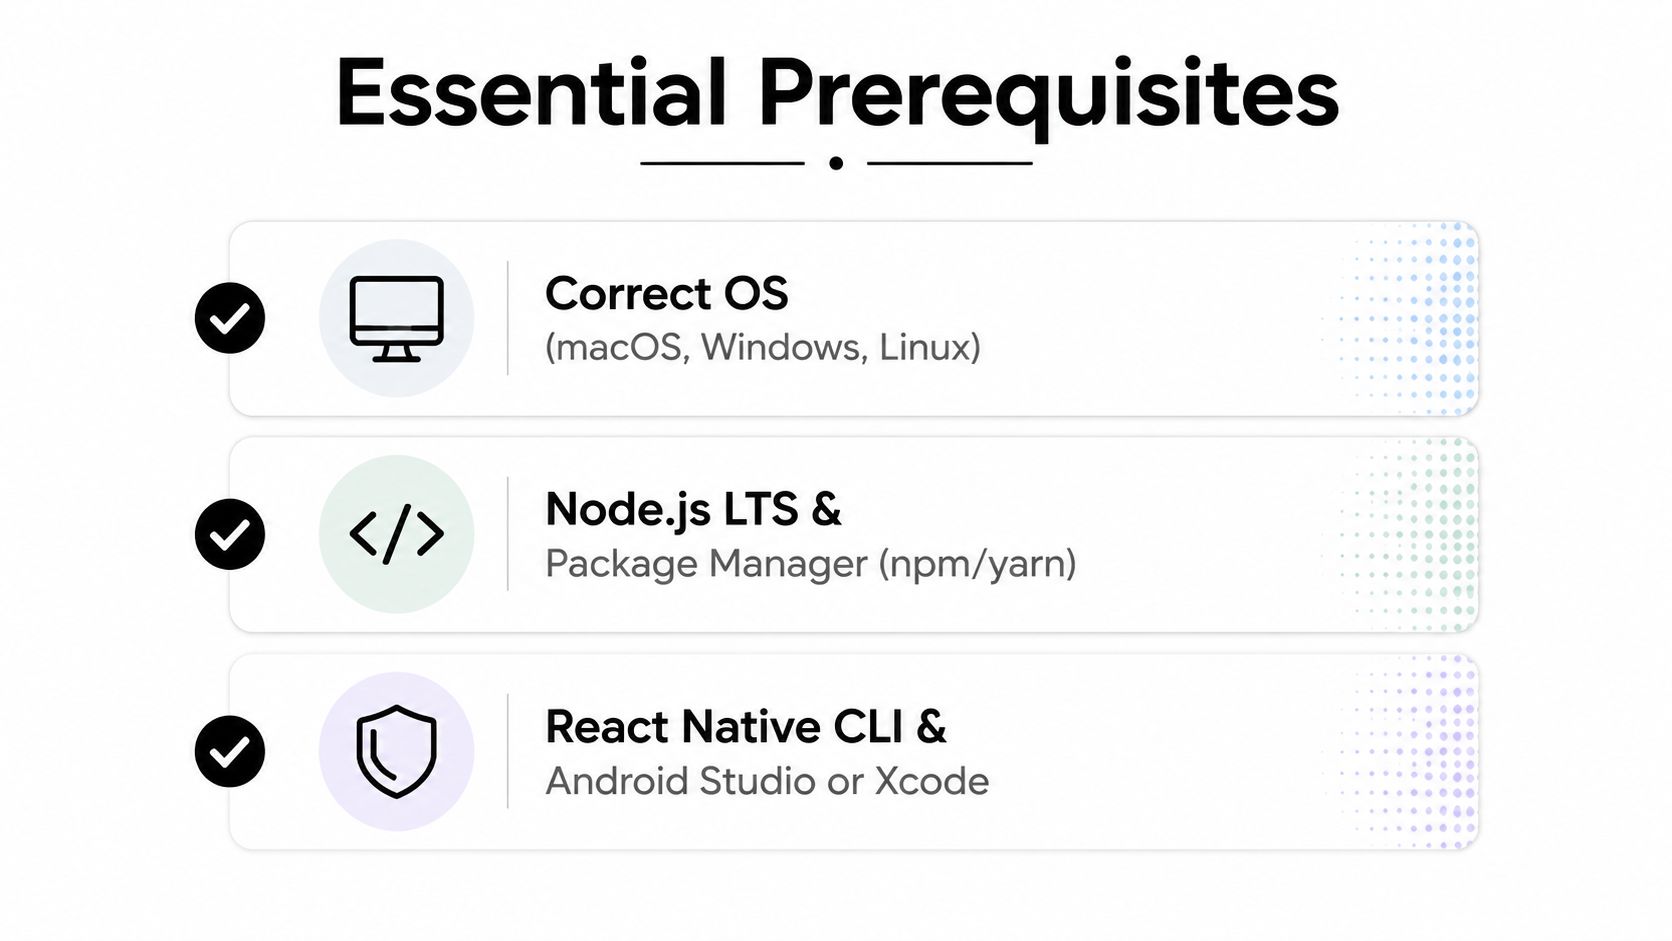
A reliable React Native app setup begins with the machine, not the application code. React Native's setup guidance identifies Node, Watchman, the React Native CLI, Xcode, and Android tooling as core parts of the development environment, and its platform setup documentation makes the distinction between iOS and Android explicit.
<a id="prepare-the-operating-systems-first"></a>
Prepare the operating systems first
An iOS build requires macOS and Xcode. Windows and Linux can support Android development, JavaScript work, and many shared tasks, but they can't fully replace macOS for compiling and signing an iOS application. Plan access to a Mac before the project reaches release work, rather than discovering the restriction after the app is feature-complete.
Android requires the Android SDK, platform tooling, and either an emulator or a physical device. Install Android Studio when you need the SDK manager, emulator management, and debugging tools, then verify that the command-line tools can locate the SDK.
<a id="install-the-shared-development-layer"></a>
Install the shared development layer
Use a maintained Node installation and one package manager across the team. npm and Yarn can both work, but inconsistent package-manager choices create avoidable lockfile and dependency differences. Watchman can improve file monitoring on macOS, while the React Native CLI provides project and platform commands in a bare setup.
Configure Android environment variables, including ANDROID_HOME, so Gradle can find the SDK. Then verify the shell can access the expected SDK tools before initializing the app. A missing variable can look like an application failure even when the JavaScript is valid.
<a id="validate-before-adding-dependencies"></a>
Validate before adding dependencies
Run a clean starter project on an iOS simulator and an Android emulator or device. Check that Metro starts, the application bundles, reloads work, and native logs are visible. Only after that baseline succeeds should you add native libraries.
For a visual walkthrough of the initial environment, use the embedded setup video below.
<iframe width="100%" style="aspect-ratio: 16 / 9;" src="https://www.youtube.com/embed/XV5LwKuk3zc" frameborder="0" allow="autoplay; encrypted-media" allowfullscreen></iframe>Production preparation starts here too. Record the Node version, package manager, Xcode version, Android SDK configuration, and build commands in the repository. Reproducibility matters more than a developer's individual machine preferences, because release failures often begin with undocumented environment drift.
<a id="choosing-between-managed-and-bare-workflows"></a>
Choosing Between Managed and Bare Workflows
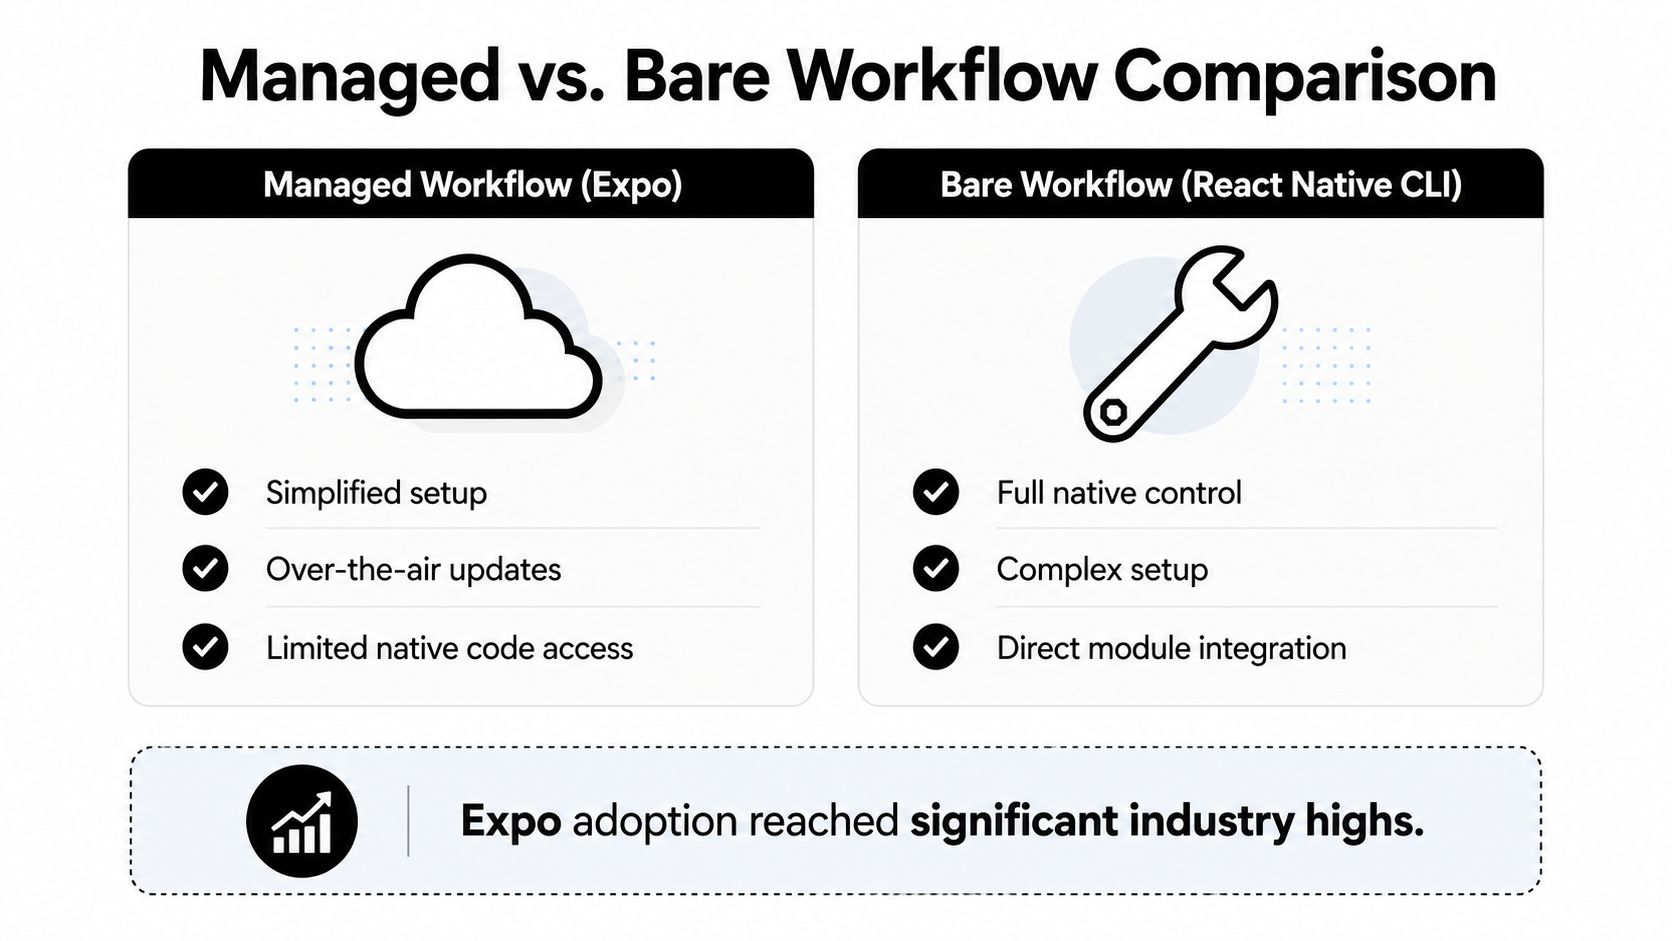
Which workflow reduces risk from the first local build to a store submission? Start with Expo Managed, then move toward native projects only when a concrete requirement demands it. As noted earlier in this guide, Expo adoption reached 60% in 2024, confirming that it has become a mainstream production choice rather than a beginner shortcut.
<a id="managed-workflow-with-expo"></a>
Managed workflow with Expo
Expo is the stronger default when your team needs fast initialization, predictable defaults, and cloud-assisted builds. Keep application code in JavaScript or TypeScript, use Expo modules for common device capabilities, and avoid maintaining native projects until the product requires them.
This fits consumer apps, internal tools, content products, and early releases where rapid feedback matters more than unusual platform behavior. It also creates a direct path from local development to EAS builds and store submission. That operational path matters: a successful local build does not prove that signing, native configuration, and release artifacts are ready for production.
Choose a development build when the app needs native modules that Expo Go cannot provide. You still gain Expo's configuration and build tooling while testing native behavior before release.
<a id="bare-workflow-with-react-native-cli"></a>
Bare workflow with React Native CLI
A bare workflow gives you direct access to the iOS and Android projects. You can modify native source, configure custom Gradle behavior, integrate proprietary SDKs, and control platform build settings without waiting for an abstraction to expose each option.
The trade-off is operational ownership. Your team maintains more files, handles more upgrade decisions and signing details, and must prevent the platforms from drifting apart. Choose bare React Native when the product has deep native requirements, custom build logic, or an SDK that the managed path cannot support. Standard device features alone do not justify that overhead.
| Decision factor | Managed Expo workflow | Bare React Native workflow |
|---|---|---|
| Initial setup | Faster and more opinionated | More manual and configurable |
| Native customization | Available through supported modules and development builds | Direct access to native projects |
| Build management | Well suited to EAS workflows | Team manages more platform details |
| Best fit | Teams prioritizing iteration and standardized delivery | Products requiring custom native integration |
The right choice can change as the app grows. Begin with the workflow that keeps configuration and release work under control, then reassess when a specific native constraint appears. Do not choose bare because it feels more flexible. Choose it when you can name the requirement that Expo cannot handle.
Decision test: If you can't name the native requirement that rules out Expo, don't choose the bare workflow yet.
<a id="configuring-native-modules-and-build-settings"></a>
Configuring Native Modules and Build Settings
Native modules are where a clean JavaScript project becomes a platform project. Treat each installation as a controlled change, not as a harmless package addition.
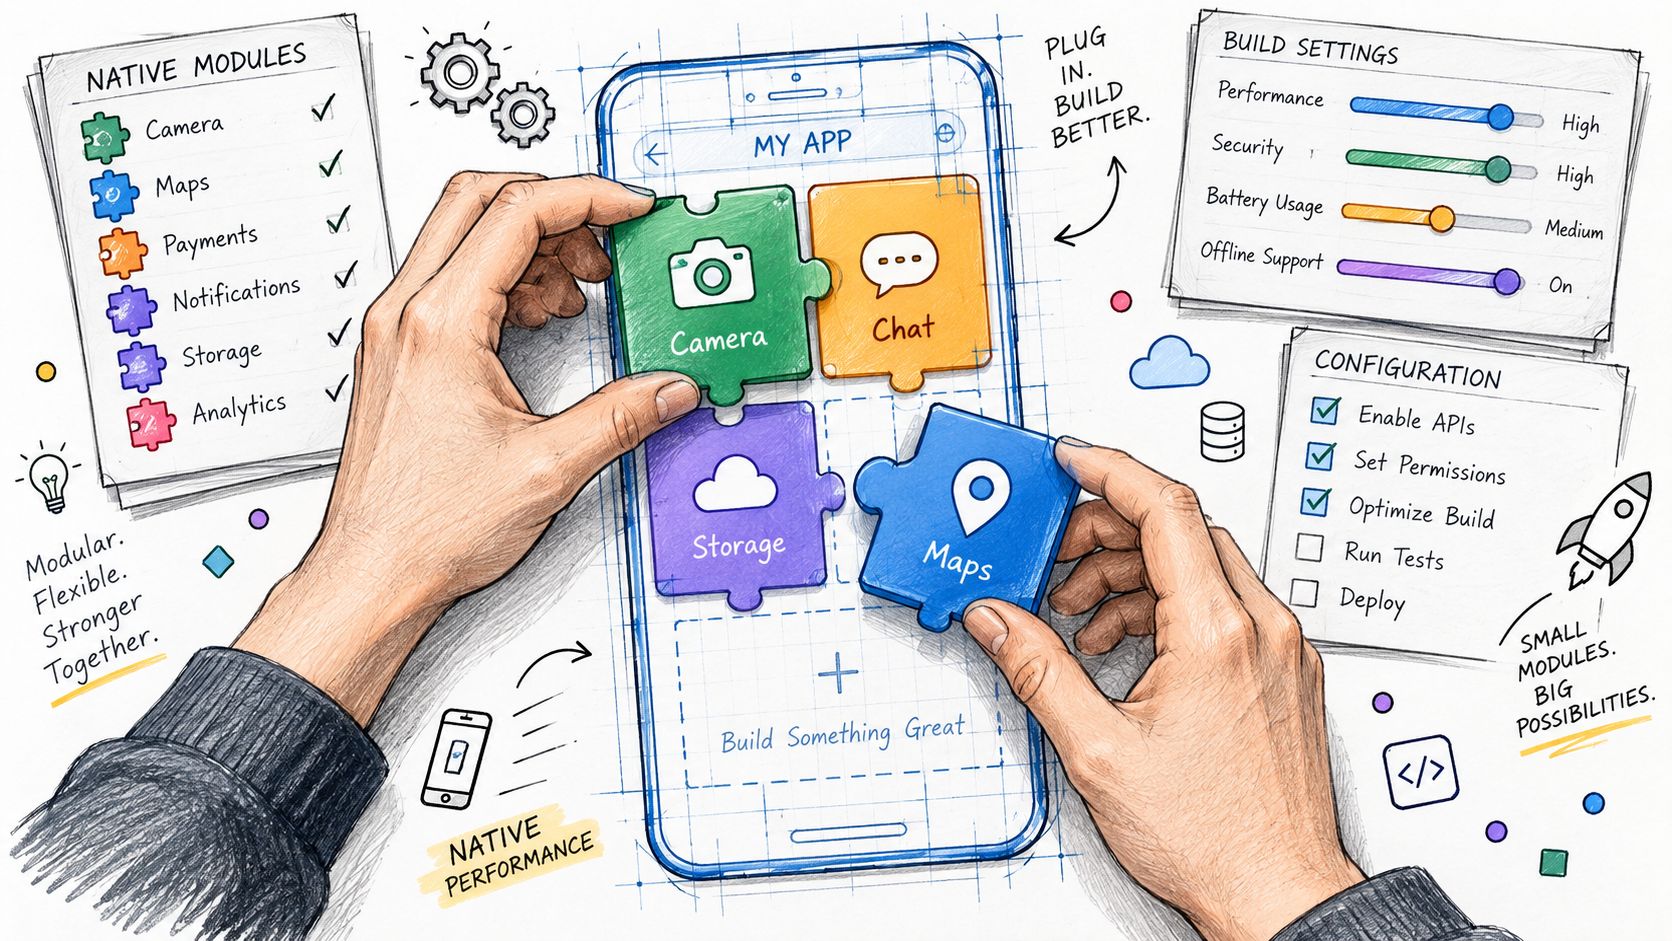
Install one native dependency at a time. Read its iOS and Android requirements, confirm compatibility with your React Native or Expo version, then build both platforms before moving on. A package can work in Metro and still fail during CocoaPods installation, Gradle compilation, or runtime initialization.
<a id="keep-platform-configuration-explicit"></a>
Keep platform configuration explicit
On iOS, review the Podfile and run CocoaPods installation after adding libraries that include native code. Check required permissions in the iOS project, such as location, camera, microphone, or photo access, and make sure the app's behavior matches the permission explanation shown to users.
On Android, inspect the manifest, Gradle configuration, permissions, and required activities or services. Keep ANDROID_HOME correct, use the SDK versions required by the project, and test on a physical device when an emulator can't reproduce a hardware-dependent issue.
<a id="separate-javascript-changes-from-native-changes"></a>
Separate JavaScript changes from native changes
A JavaScript-only change can often be delivered through the development server or an update mechanism. A native dependency, app capability, or build-property change requires a new binary. This boundary matters because developers often test a feature in a convenient environment that doesn't contain the native code used by the production app.
Record every native module in a short integration note:
- Purpose: State which product feature needs it.
- Platforms: Identify whether iOS, Android, or both require configuration.
- Permissions: List user-facing permission prompts and store disclosures.
- Build impact: Note whether a development or production binary must be rebuilt.
- Validation: Include the simulator, emulator, and physical-device checks completed.
This discipline prevents “works on my machine” from becoming a release strategy. It also makes future upgrades safer because another engineer can see why each native setting exists.
<a id="leveraging-eas-build-for-simplified-deployment"></a>
Leveraging EAS Build for Simplified Deployment
Could your team reproduce the same signed application after a local build succeeds? EAS Build should be part of the React Native app setup before release work begins. It turns the handoff from source code to installable binary into a defined process. As noted earlier, EAS Build is the top build tool, with 50% adoption.
Set build profiles by purpose. Use a development profile for a custom development client, a preview profile for internal distribution, and a production profile for store artifacts. Declare environment values explicitly, keep secrets out of the JavaScript bundle, and review eas.json with the same care as application code.
<a id="why-cloud-builds-reduce-risk"></a>
Why cloud builds reduce risk
A local build depends on the machine that runs it, including installed SDKs, certificates, Ruby versions, Gradle caches, and shell settings. Those dependencies make failures difficult to reproduce. EAS Build places compilation in a defined service workflow, helping the team determine whether a problem comes from source code, project configuration, or the build environment.
EAS can also manage much of the signing workflow. Your team still owns the decisions and records for credentials, bundle identifiers, package names, and platform accounts. Keep those values aligned with the store records. A mismatch can produce a binary that builds successfully but cannot be submitted or installed as intended.
Release principle: A build is successful only when the team can identify the artifact, reproduce its configuration, and move it into a submission workflow.
EAS Build does not complete the launch process. The binary still needs store metadata, privacy information, screenshots, reviewer notes, content declarations, and platform compliance checks. EAS Submit can transfer builds to store systems, but it cannot write accurate product copy or determine how the app collects data.
Keep a release checklist in the repository. Record the commit or branch, build profile, environment configuration, signing status, test results, version information, and submission owner. Test the exact production artifact on supported devices, rather than validating only a development build.
That separation closes the operational gap between a successful local build and a live store submission. Developers retain a fast iteration loop, while the release owner gets a controlled path from source to binary and then to store review.
<a id="troubleshooting-common-react-native-app-setup-issues"></a>
Troubleshooting Common React Native App Setup Issues
A developer adds a package, the JavaScript editor shows no errors, and the Android build suddenly fails. This scenario is common because React Native projects cross several dependency boundaries, and the visible error often appears far from the original change.
Start by classifying the failure instead of reinstalling everything. If Metro can't resolve a package, investigate JavaScript dependencies and the bundler cache. If Xcode reports a Pod or linker issue, inspect CocoaPods and iOS project settings. If Gradle can't locate the SDK, check Android tooling and environment variables before changing application code.
<a id="a-practical-diagnosis-sequence"></a>
A practical diagnosis sequence
- Reproduce on a clean baseline: Confirm whether the failure exists before the newest dependency or configuration change.
- Read the first meaningful error: Later messages often describe consequences, not causes.
- Check the platform boundary: Determine whether the problem occurs in JavaScript, iOS native code, Android native code, or signing.
- Rebuild the affected binary: A package containing native code won't become available merely because Metro restarted.
- Test the smallest feature path: Confirm permissions, initialization, and the user action that invokes the module.
Some setup failures come from incorrect assumptions. Windows or Linux can't fully replace macOS for iOS builds. Skipping Xcode Command Line Tools can block iOS compilation. An unset ANDROID_HOME can break Android builds even when the project source is sound. A library that works in Expo Go may stop working there once the app depends on custom native code, which means the team needs a development build instead.
Keep a short incident record for every resolved build problem. Capture the error, root cause, fix, and affected platform. Over time, that record becomes more useful than a long list of copied commands because it teaches the team how its own project fails.
<a id="preparing-for-app-store-submission-and-launch"></a>
Preparing for App Store Submission and Launch
Is the app ready for the store, or only ready to run locally? A successful local build is a technical checkpoint, not a launch decision. Release work must connect the binary with the store record, legal disclosures, visual assets, account settings, and reviewer instructions. Native configuration and signing still create hidden failure points, while tools such as EAS can reduce build and submission risk when the workflow is configured correctly.
Platform guidance covers archiving, uploading, and signing. The operational gap appears after compilation. Teams must prepare the listing, confirm production services, and prove that the submitted artifact matches what users and reviewers will encounter. Earlier setup guidance also shows why a build that works on one machine is not enough for a repeatable release process.
<a id="build-the-launch-packet"></a>
Build the launch packet
Prepare these items before submitting:
- Store identity: Confirm the app name, bundle identifier, package name, version, category, and developer account details.
- Visual assets: Produce the required icon, screenshots, and preview materials for the target stores and device contexts.
- Privacy disclosures: Match store privacy answers to the permissions, SDKs, analytics, advertising, payments, and data flows in the application.
- Reviewer context: Supply working credentials, demo instructions, test configuration, and reviewer notes when the app needs an account or special path.
- Release evidence: Test the production binary on supported devices, check deep links and notifications, verify offline and error states, and confirm that the launch version points to production services.
<a id="treat-review-as-an-operational-test"></a>
Treat review as an operational test
Reviewers evaluate the submitted binary and its attached information, not the repository. A polished app can still be delayed when screenshots show an outdated interface, privacy answers contradict the product, or the reviewer cannot access its main feature.
Use a fixed release sequence. Freeze the release candidate, build it through the selected workflow, validate the signed artifact, complete store metadata and compliance records, submit through the platform tools, and monitor review messages. EAS can make repeatable builds easier, but it does not replace checks for native configuration, credentials, permissions, or production behavior.
If the team lacks capacity for final coordination, LetsDeployIt can connect to a GitHub repository, ZIP export, or published URL and handle store-ready assets, metadata, screenshots, privacy materials, signing, compliance checks, and submission for React Native, bare, managed, and Expo apps. Visit LetsDeployIt to assess whether its launch service fits the release plan.
<a id="sources"></a>