React Native Deploy Android: Complete Play Store Guide
Learn how to react native deploy android apps to Google Play. Covers Expo EAS, bare workflows, signing keys, release builds, and store approval tips.

You've got the app working, the release build almost passes, and the only thing between you and Google Play is the part nobody enjoys the first time, Android deployment. That usually means one of two paths, a cloud-managed Expo pipeline or a bare React Native Gradle flow, plus signing, store compliance, and the uncomfortable reality that “deploy” keeps meaning more things after the first upload.
React Native is not a niche on Android. AppBrain's Android SDK data says it appears in 6.81% of all Android apps, 4.24% of installs, 13.44% of apps and 19.11% of installs among top apps, and 3.90% of new apps AppBrain's React Native Android stats. That matters because a react native deploy android decision isn't about a demo build, it's about a release path that can support real traffic, real review cycles, and real maintenance.
Table of Contents
- Choosing Your Deployment Path
- Preparing Your Environment and Signing Keys
- Building Your Release Artifact
- Navigating Google Play Console Submission
- Fixing Common Deployment Errors and Understanding Modern Release Management
- Automating Your Release Pipeline and Getting Approved Quickly
<a id="choosing-your-deployment-path"></a>
Choosing Your Deployment Path
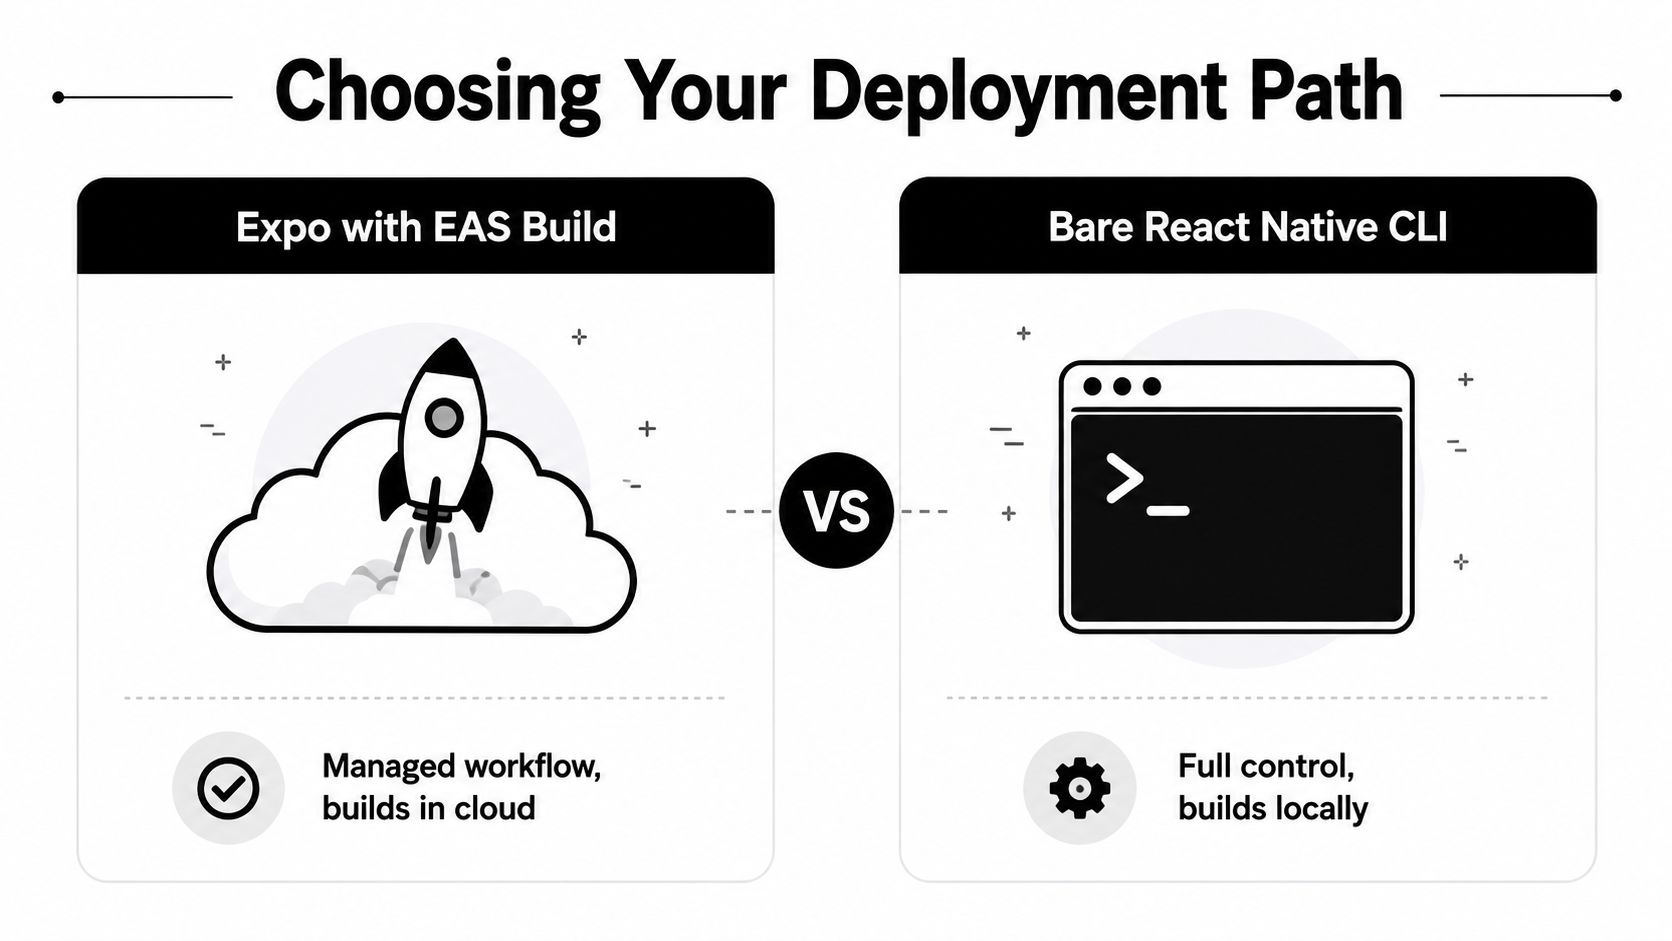
Android deployment breaks in the details, not the build button. Before you ship anything, choose Expo with EAS Build and Submit or a bare React Native CLI project, because that decision affects credential handling, signing, release cadence, and how painful repeat uploads become after the first release.
<a id="expo-with-eas-build-and-submit"></a>
Expo with EAS Build and Submit
Expo's deployment path centers on cloud-managed builds and submissions. The 2024 State of React Native build and publish survey shows that 25.6% of respondents are using that workflow, which is a useful signal that many teams have already moved their release process into Expo's pipeline State of React Native build and publish survey. The same source also highlights Expo's published build-and-publish metrics, including 7M+ weekly downloads, 100K+ active developers, and 100K+ daily builds, which helps explain why managed release workflows keep showing up in real shipping teams.
Use this path if you want EAS to handle the build, signing, and submission flow instead of stitching together Gradle, keystore handling, and Play Console uploads yourself. It does not remove release work, it just moves more of it into a managed service. You still need a Play Console account, store assets, versioning discipline, and a release process that works when a build fails on a Friday night.
Expo is a good fit when you want fewer moving parts on the Android side and your app does not depend on heavy custom Gradle logic. It also fits teams that need a predictable way to repeat releases without rebuilding the entire workflow by hand every time. OTA updates can cover JavaScript changes after approval, but they do not replace Play Store submission for native code, permissions, or any change that requires a new Android package.
<a id="bare-react-native-cli"></a>
Bare React Native CLI
Bare React Native gives you full control, and full responsibility. You work directly with Android Gradle, signing configs, keystore files, version codes, and whichever CI runner you trust to keep the release path stable. That is the right choice when you already have custom native modules, need exact build behavior, or want every piece of the pipeline under your own control.
The trade-off is maintenance. Every change to signing, environment variables, flavors, or release automation becomes your problem to document and keep working. Teams that ship often feel that cost quickly, especially once the same release setup has to survive a new laptop, a new engineer, or a broken CI image.
Practical rule: If your team dreads opening Android Studio, a managed release path usually causes less friction. If the app already depends on custom native modules or complex Gradle logic, stay bare and build a repeatable script around it.
There is one more choice that matters as much as the framework itself, whether you need a one-time upload or a repeatable pipeline. A one-time upload gets an app into production once. A repeatable pipeline is what keeps releases moving when Google changes submission rules, API level requirements, or closed testing expectations for newer accounts.
<a id="preparing-your-environment-and-signing-keys"></a>
Preparing Your Environment and Signing Keys
Android releases fail for boring reasons. Missing JDKs, wrong SDK paths, broken keystore handling, or a signing config that worked on one machine and not another will stop a build long before Play Console sees it. The fix is to set up the release machine like production, not like a developer laptop.
<a id="install-the-tools-before-you-touch-signing"></a>
Install the tools before you touch signing
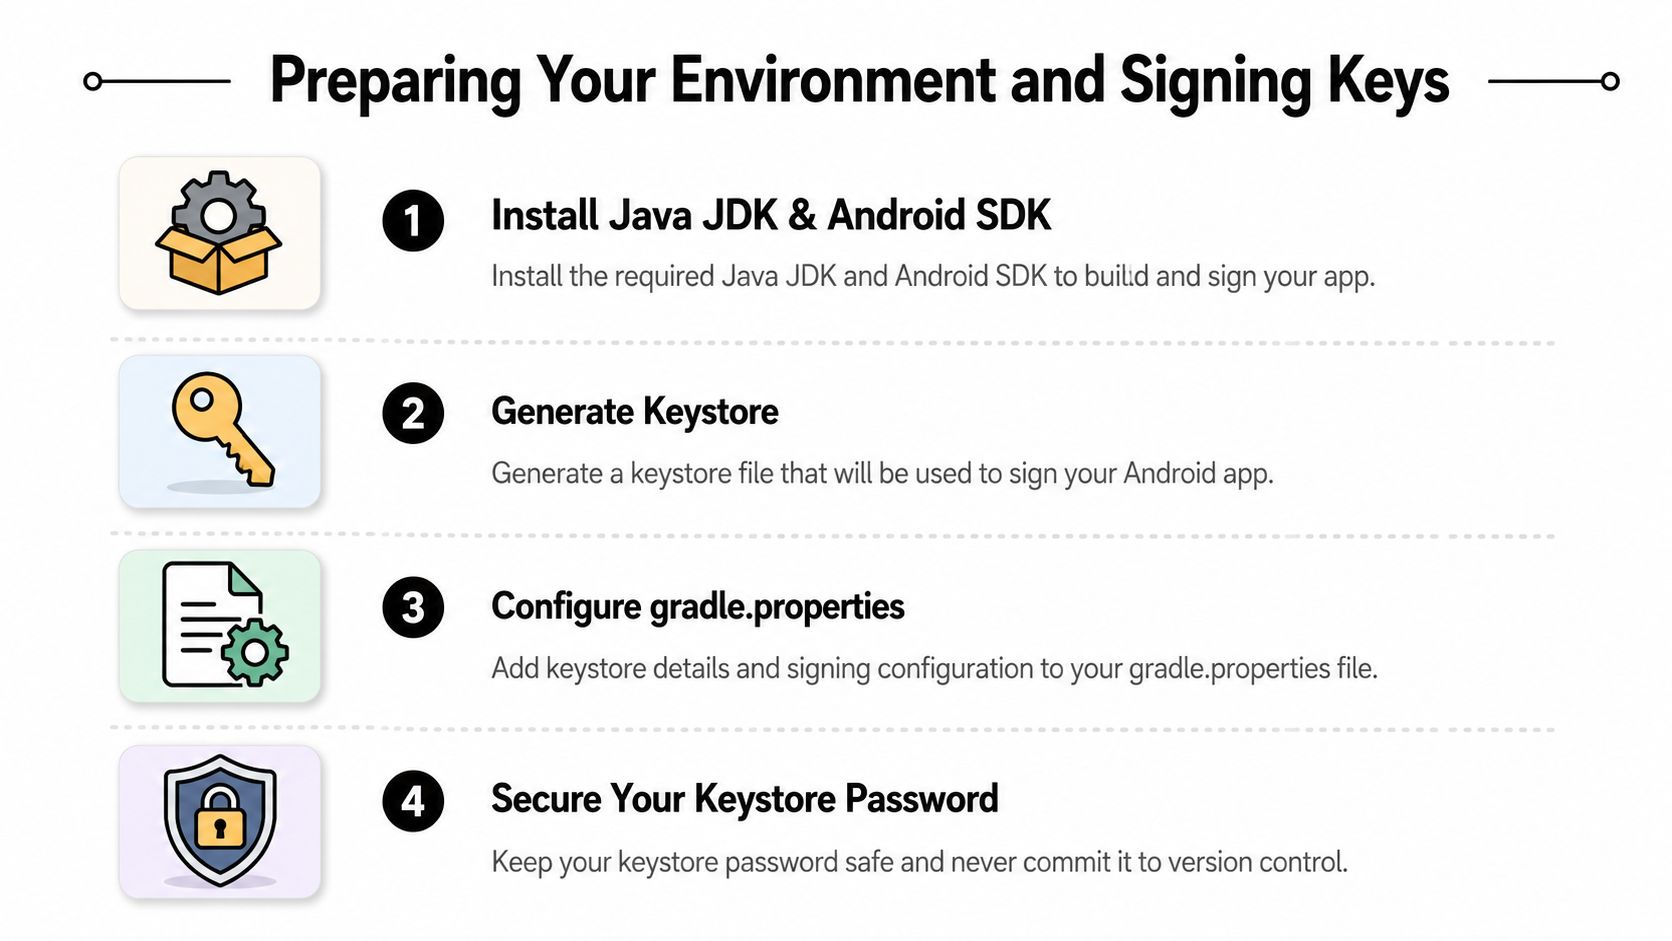
For a bare project, you need the Android build chain in place before you generate a release artifact. That means a supported JDK, Android SDK, and Gradle environment that can run release tasks reliably. If you use Expo, EAS hides much of that local setup, but your account and credential strategy still matter because the final Play release still depends on signing.
The signing key is the part you cannot casually recreate later. Android release flow depends on a keystore created with keytool, and that key should be stored outside version control, backed up securely, and treated like production infrastructure. If you hand the same project to another engineer later, they should not need your laptop to make a release.
<a id="generate-and-protect-the-keystore"></a>
Generate and protect the keystore
A common bare workflow is to create a keystore, then wire it into Gradle through gradle.properties or environment variables. Keep the file path and passwords out of the repo, and test the release path on a clean machine or CI runner before you trust it. If the app builds locally but not in CI, the problem is usually a missing secret, an environment mismatch, or a path that only exists on your laptop.
For Expo, let EAS manage signing unless you have a specific reason not to. Managed credentials reduce the number of moving pieces during submission, and they help when multiple people need to trigger builds without sharing private keys manually. The important part is consistency, not heroics.
Never commit the keystore, even “temporarily.” Temporary secrets tend to survive code review and become permanent incidents.
The signing split also matters later when Google Play asks for repeatable updates. Your upload key and the app signing flow need to stay stable over time, or every future release becomes an emergency. That's why the environment setup is part of deployment, not a preflight checklist you can ignore after the first build.
<a id="building-your-release-artifact"></a>
Building Your Release Artifact
Once the environment is ready, the app stops being source code and becomes a distribution artifact. For Android, that artifact should usually be an AAB, not a debug APK, because Play publishing is built around a signed release bundle. React Native's publishing guidance frames Android release publishing around signing and release bundles, not debug builds React Native Play Store deployment guidance.
<a id="bare-react-native-with-gradle"></a>
Bare React Native with Gradle
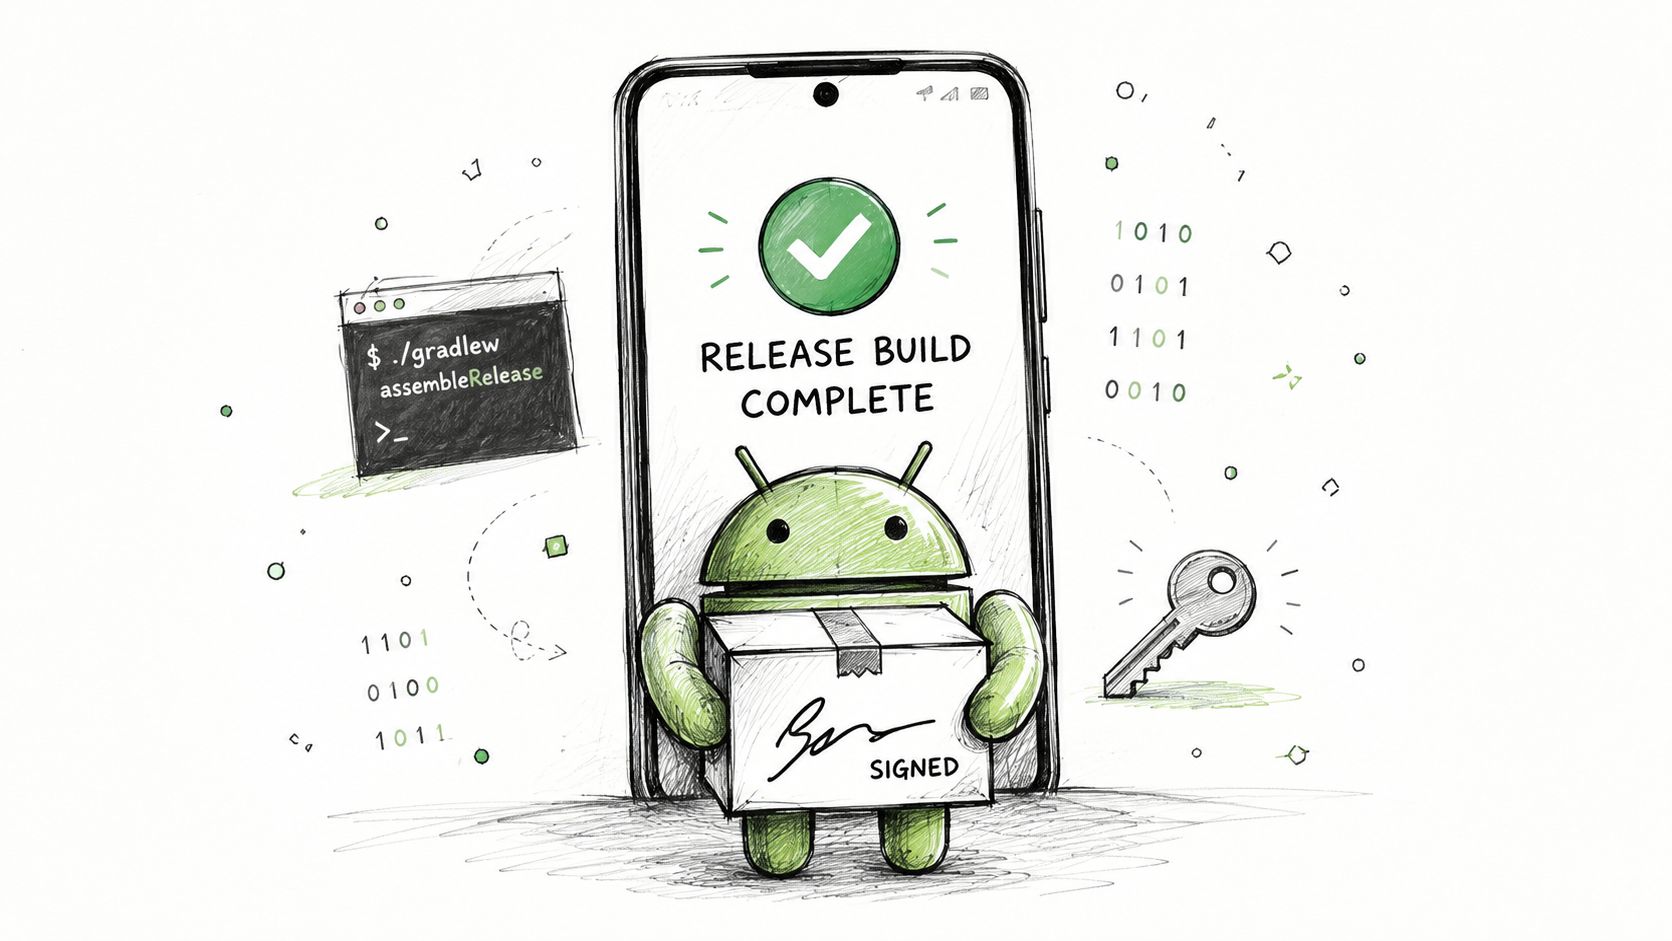
The standard bare command is ./gradlew bundleRelease, which produces the release bundle you upload to Play Console. Some teams use ./gradlew assembleRelease for local validation or device installs, but the Play submission path should end with a signed AAB. Before uploading, verify the output path, check that the signing config is active, and confirm the app opens without the dev server.
A useful test is to install the release artifact on a device with adb install after you've signed it. That catches failures that only show up outside debug mode, like release-only resource issues or config that depends on the dev server. A build that runs in debug but crashes in release is still a broken build.
<a id="expo-with-eas-build"></a>
Expo with EAS Build
Expo teams usually set build profiles in eas.json and run eas build to produce a signed bundle in the cloud. That works well when you want the build machine, signing, and artifact generation to live in one managed pipeline. It also makes the release process easier to reproduce across branches and environments, because the build definition lives in configuration instead of tribal knowledge.
Expo's deployment model also makes the line between build and update clearer. A Play Store build is one thing, a later production update pushed through EAS is another. That distinction matters because it keeps store approval work separate from post-release fixes.
<a id="validate-the-artifact-before-upload"></a>
Validate the artifact before upload
A lot of release failures are self-inflicted. Check that the bundle is signed, that the package name matches your Play Console entry, and that versioning has moved forward. If you skip local validation because “the CI job passed,” you'll end up debugging the wrong layer in Play Console.
<a id="navigating-google-play-console-submission"></a>
Navigating Google Play Console Submission
Uploading the AAB is only the first step. Google Play Console still expects a complete release package, including the store listing, data safety answers, content rating, screenshots, and the correct testing track. If any of those pieces are incomplete or inconsistent, the app stops before production.
<a id="treat-the-store-listing-like-a-release-asset"></a>
Treat the store listing like a release asset
Your listing copy, icon, screenshots, and short description shape the reviewer's first impression. The store page should match the app the reviewer can reach after launch. If the onboarding flow, sign-in gate, or core feature sits behind a dead end, reviewers will catch that mismatch quickly.
The data safety form is not something to rush through. Answer it based on what the app collects and transmits, not what you wish it collected. If your app uses analytics, authentication, crash reporting, or push tokens, the form needs to reflect that reality.
<a id="understand-the-testing-tracks"></a>
Understand the testing tracks
Google Play gives you multiple tracks, and each one has a different job. Internal testing works for your own team, closed testing is for controlled external validation, and production is the final public release path. Using production as the first real test usually ends badly, because that is where review cost is highest.
For new personal developer accounts, the closed testing requirement matters. Google's policy guidance spells out the closed testing path for these accounts in the Play Console review flow and policy documentation, so you need testers, a real test track, and enough time for the account to satisfy that requirement before you can publish more broadly Google Play policy documentation.
<a id="build-for-reviewers-not-just-users"></a>
Build for reviewers, not just users
If the app requires a login, give the reviewer working credentials. If the core feature sits behind onboarding, make the path obvious in reviewer notes. If there are device-specific flows, call them out clearly. That is not about gaming review, it is about removing ambiguity so the reviewer can verify the app without guessing.
Reviewers reject apps that look unfinished, crash at launch, or hide the main flow behind confusing setup steps. Most of those failures are preventable with cleaner reviewer notes and a more honest listing.
For teams that do not want to manage the tester roster, reviewer notes, resubmissions, and Play form churn themselves, LetsDeployIt offers a submission service that handles Android and Expo release prep, including Play Console artifacts, tester management for new personal accounts, and resubmission support. It is one way to offload the process when the release work needs to be handled by a specialist instead of by the product team.
<iframe width="100%" style="aspect-ratio: 16 / 9;" src="https://www.youtube.com/embed/F74CNRDoiaY" frameborder="0" allow="autoplay; encrypted-media" allowfullscreen></iframe><a id="fixing-common-deployment-errors-and-understanding-modern-release-management"></a>
Fixing Common Deployment Errors and Understanding Modern Release Management
Many teams assume deployment ends once the bundle is uploaded. That mindset leaves out the parts that usually break real releases. Android release work also includes platform compliance, build stability, and a plan for shipping fixes after the store release without waiting on every review cycle.
Gradle is a common release blocker. Dependency conflicts, missing resources, or signing mismatches can break the build before Google Play Console ever sees it. Target SDK problems are harder to ignore because they are policy issues, not just technical bugs. Recent Google guidance requires apps to target Android 16 / API level 36 to keep publishing updates Google Play target API level requirements.
<a id="the-errors-that-waste-the-most-time"></a>
The errors that waste the most time
Signing mismatches usually show up as a release that builds on one machine and fails on another. Missing resources often appear only in release mode because debug packaging is more forgiving. Gradle dependency drift can also create opaque failures that disappear after a clean install, which is why release pipelines need reproducible dependencies and clean build steps.
Release work also gets messy when teams treat “deploy” as only store submission. Modern React Native deployment often includes OTA updates, build and signing automation, and submission workflows like EAS Build and EAS Submit. The release plan has to answer three separate questions, how do we build, how do we ship to the store, and how do we push fixes after release.
<a id="separate-one-time-uploads-from-live-updates"></a>
Separate one-time uploads from live updates
A one-time upload works for a small app or an infrequent release cycle. A repeatable pipeline matters once the app has real users, multiple environments, and recurring fixes. OTA updates sit beside both, not instead of them. They help with certain production changes, but they do not replace the store build when the app binary itself changes.
Teams usually get this wrong in one of two ways. They use store releases for tiny fixes that could have gone out as OTA updates, or they assume OTA updates can cover every change. Both choices create bad release decisions later and make rollback planning harder than it needs to be.
Use the store for binary changes, use OTA for eligible runtime fixes, and use a pipeline when you want the process to survive staff turnover.
<a id="automating-your-release-pipeline-and-getting-approved-quickly"></a>
Automating Your Release Pipeline and Getting Approved Quickly
Shipping once is hard. Shipping every week without release anxiety is a systems problem. The answer is to automate the repetitive parts, versioning, artifact generation, and upload, so the same release path runs every time with fewer manual decisions.
GitHub Actions, EAS Build triggers, and Fastlane all solve the same basic problem, they turn a human checklist into code. Fastlane is especially useful when you want lanes for version bumps, bundle builds, and Play upload in one place. The biggest advantage isn't speed, it's consistency. Every release follows the same steps, which means fewer surprises when the app is under pressure.
<a id="make-the-pipeline-enforce-the-release-rules"></a>
Make the pipeline enforce the release rules
A good Android release pipeline should produce a signed AAB, validate it, and upload it on the branch or tag that you trust. It should also make version management boring, because nothing burns time like discovering the build number didn't move. If you use staged rollouts, keep them deliberate and tied to the same pipeline so you can slow down release exposure when something looks off.
Reviewer notes matter here too. Put login instructions, feature access steps, and any non-obvious behavior in the notes you submit with the build. If the reviewer has to guess, you've already made the process harder than it needs to be.
<a id="respond-to-rejection-like-an-engineer"></a>
Respond to rejection like an engineer
Rejection messages usually point to a concrete gap, missing disclosure, unclear access, or behavior that doesn't match policy. Fix the issue directly, resubmit with a cleaner note, and don't bury the reviewer in extra text. If the problem is compliance-related, answer it in the product and the Play form, not just in the message thread.
If your team needs a release partner, specialized services can fill the gap between “we can build it” and “we can get it approved.” The practical value is not magic approval, it's reduced release friction when your internal team is already stretched thin.
If you want the Android release process handled by people who do this all day, LetsDeployIt manages React Native and Expo launches for Google Play, including store listing prep, compliance paperwork, tester coordination, signing, and resubmissions. Visit LetsDeployIt if you want a specialist to take the Play Console work off your plate and keep your next release moving.