React Native to App Store: The Complete Launch Playbook
Ship your React Native to App Store with confidence. Covers EAS builds, signing, metadata, screenshots, privacy compliance, and how to avoid common rejections.

You've finished the React Native screens, connected the backend, and produced a build that works on your device. Then App Store Connect rejects it because a reviewer can't reach the account, a privacy manifest is missing from a dependency, or the screenshots promise a flow the submitted binary doesn't contain. Those failures feel disconnected from the code because they usually are.
A reliable React Native to App Store launch treats the binary, native configuration, store listing, privacy disclosures, and review path as one product. React Native has become a substantial publishing technology, not a niche experiment. It was released in April 2015, and Appfigures reported that it represented 6.75% of all apps released in 2024, compared with 4.73% in 2022. The same snapshot placed it as the number one non-native framework on the App Store and the number two non-native framework on Google Play, after Swift and Kotlin, as documented in the React Native overview and adoption summary.
Table of Contents
- Preparing Your React Native App for Submission
- Building and Signing with EAS and Xcode
- Crafting App Store Connect Metadata That Gets Approved
- Creating Screenshots and Preview Videos That Convert
- Navigating Privacy Compliance and Permissions
- Understanding Common Rejections and How to Respond
- Your Launch Readiness Checklist and Next Steps
<a id="preparing-your-react-native-app-for-submission"></a>
Preparing Your React Native App for Submission
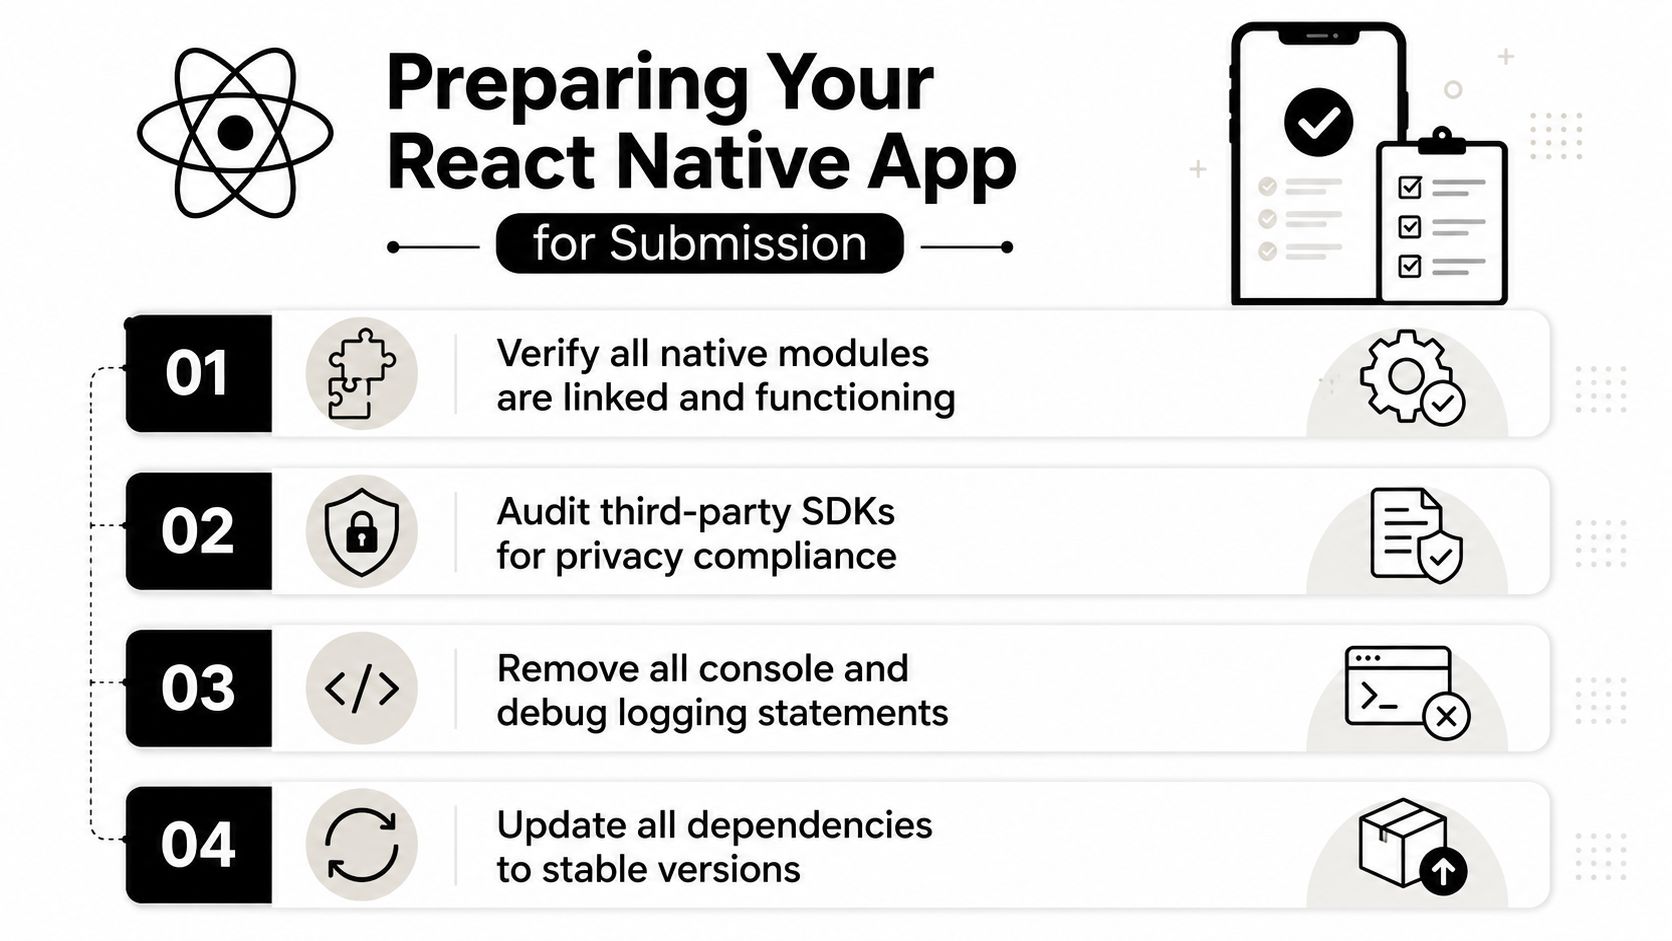
A release can pass every local demo and still fail review because the reviewer cannot sign in, a dependency lacks a required privacy manifest, or production configuration sends the app down an unusable path. Production builds exercise different native modules, permissions, signing settings, startup paths, and review conditions. A simulator pass can hide a cold-start crash caused by a native library, while a locally configured account can conceal a login wall that blocks Apple's reviewer.
Apple's 2025 App Store Transparency Report recorded 2,093,244 rejected app submissions, with Performance responsible for 1,354,418, ahead of Legal, Design, and Business categories, according to the Apple App Store Transparency Report reference. For a React Native launch, performance belongs in the approval checklist alongside reviewer access, privacy disclosures, and metadata consistency.
<a id="run-a-release-build-audit"></a>
Run a release-build audit
Start with a clean production build on physical devices. Metro, development permissions, and cached credentials can hide failures that appear in the submitted artifact.
- Native modules: Verify that every package requiring iOS or Android integration is linked, configured, and exercised. Test camera, notifications, deep links, biometrics, purchases, file sharing, and each background capability your app uses.
- Cold start: Terminate the app, launch it from the home screen, and repeat after signing out, losing connectivity, and receiving a notification. A release build that fails before the first usable screen blocks submission.
- Review access: Prepare a working demo account or a review path without private invitations, unavailable hardware, or an unexplained backend state. Confirm that credentials remain active during review.
- Dependency compliance: Inspect current SDK versions and the privacy manifests contributed by CocoaPods and other native dependencies. Your source code can be clean while a bundled SDK creates a disclosure problem.
- Production configuration: Confirm API endpoints, feature flags, redirect URLs, push environments, and purchase products all use production values. Check that store metadata describes the same flows the binary provides.
Practical rule: Test the exact artifact you plan to submit, not the application you remember building.
Remove debug menus, test credentials, verbose logs, placeholder content, and development-only banners. Then repeat the core journey as a new user. Deep links should open the intended screen, push notifications should route correctly, and a reviewer should understand what to do without your team standing beside them. Recheck these conditions after the final dependency, configuration, or store-listing change, because compliance drift can appear after the app already passed internal testing.
<a id="building-and-signing-with-eas-and-xcode"></a>
Building and Signing with EAS and Xcode
A production build profile should state its purpose instead of inheriting development settings. EAS Build gives teams Expo-managed cloud builds, repeatable profiles, and less local certificate maintenance. A local Xcode build still matters when a native module behaves differently in release mode, an archive needs inspection, or signing errors require direct investigation.
Keep development, internal testing, and store distribution in separate profiles. A typical production profile looks like this:
{
  "build": {
    "production": {
      "distribution": "store",
      "autoIncrement": true
    }
  }
}
The exact profile depends on your Expo setup. Start the store build directly with:
eas build --platform ios --profile production
For a local Xcode route, generate the native project, open the workspace, select the correct team and scheme, archive a release configuration, and validate the archive before uploading. EAS automates parts of the workflow, but Apple reviews the resulting native application, including settings and bundled dependencies.
<a id="keep-identifiers-and-signing-records-aligned"></a>
Keep identifiers and signing records aligned
The bundle identifier must match in the Expo configuration, Apple Developer account, App Store Connect record, push notification setup, authentication providers, and services that use the application identifier. A build can compile successfully while push delivery, Sign in with Apple, or associated-domain routing fails because one value is wrong.
Let EAS manage credentials if your team wants a centralized process. Otherwise, record ownership of certificates, provisioning profiles, distribution credentials, and recovery access. Signing is an operational process, not a task completed once. A later developer, machine migration, or emergency release should reproduce it without guesswork.
Check the archived app itself before submission. Verify the version and build values, installed permissions, supported orientations, URL schemes, entitlements, icons, launch assets, and production environment. Also inspect privacy manifests and native dependency changes, because an updated SDK can alter the compliance profile without changing your JavaScript.
Upload the archive to TestFlight, install that uploaded artifact, and repeat the local smoke test. Confirm reviewer access and the production path on the exact binary under review. If it differs from the build on your desk, stop and identify the cause before submitting. A clean local run does not prove that the signed archive, metadata, and review configuration agree.
<a id="crafting-app-store-connect-metadata-that-gets-approved"></a>
Crafting App Store Connect Metadata That Gets Approved
Metadata drift is especially common in fast React Native workflows because screens change faster than the store listing. Proofread the listing alongside the release candidate, not after uploading. A polished binary can still create review friction when the description overpromises, screenshots show unavailable functionality, or the support URL leads to a dead page. Reviewers compare these details with the actual experience, and users rely on the same material before downloading.
Write the description for someone who has never used the app. State the problem, explain the primary workflow, and identify meaningful limitations. Remove keyword stuffing, unsupported claims, competitor references, and roadmap features presented as available functionality.
<a id="make-each-field-agree-with-the-product"></a>
Make each field agree with the product
Use the subtitle to state the app's core value in a few words. Select the category based on what users do in the app. Keywords should match genuine search intent, and the age rating should reflect user-generated content, messaging, health information, financial features, and other relevant experiences.
Run this review before submission:
- Description: Confirm every major promise exists in the submitted build.
- Promotional text: State a current, verifiable benefit instead of a permanent slogan.
- Screenshots: Show real screens and workflows from the current version.
- Support URL: Make it reachable without authentication and provide a practical contact route.
- Privacy policy: Check that the page loads, names the service, and matches the data practices disclosed in the listing.
- Copyright and versioning: Keep ownership details consistent, and make sure the marketing version, build number, and release notes describe the same release.
Review access often causes avoidable delays. If the app requires login, provide review notes with demo credentials, one-time-code behavior, and the steps to reach the main feature. Document any special setup so a reviewer can reproduce it. A video may clarify the path, but it cannot replace a working flow when direct testing is required.
Keep a change check beside the release candidate. Compare every screenshot, promotional claim, support page, privacy statement, and release note with the build under review. This catches stale store copy after a screen redesign, an old feature claim after a backend change, or a privacy description that no longer matches an updated SDK. Treat the store record as a versioned release artifact, and assign one person to approve that comparison before upload.
<a id="creating-screenshots-and-preview-videos-that-convert"></a>
Creating Screenshots and Preview Videos That Convert
In React Native projects, screenshots often drift from the submitted app because JavaScript changes reach the UI faster than the App Store listing is updated. A renamed tab, revised onboarding step, or changed permission prompt can leave the store page describing a workflow the reviewer cannot find. Capture assets from the release candidate, not from a development build or design mockup.
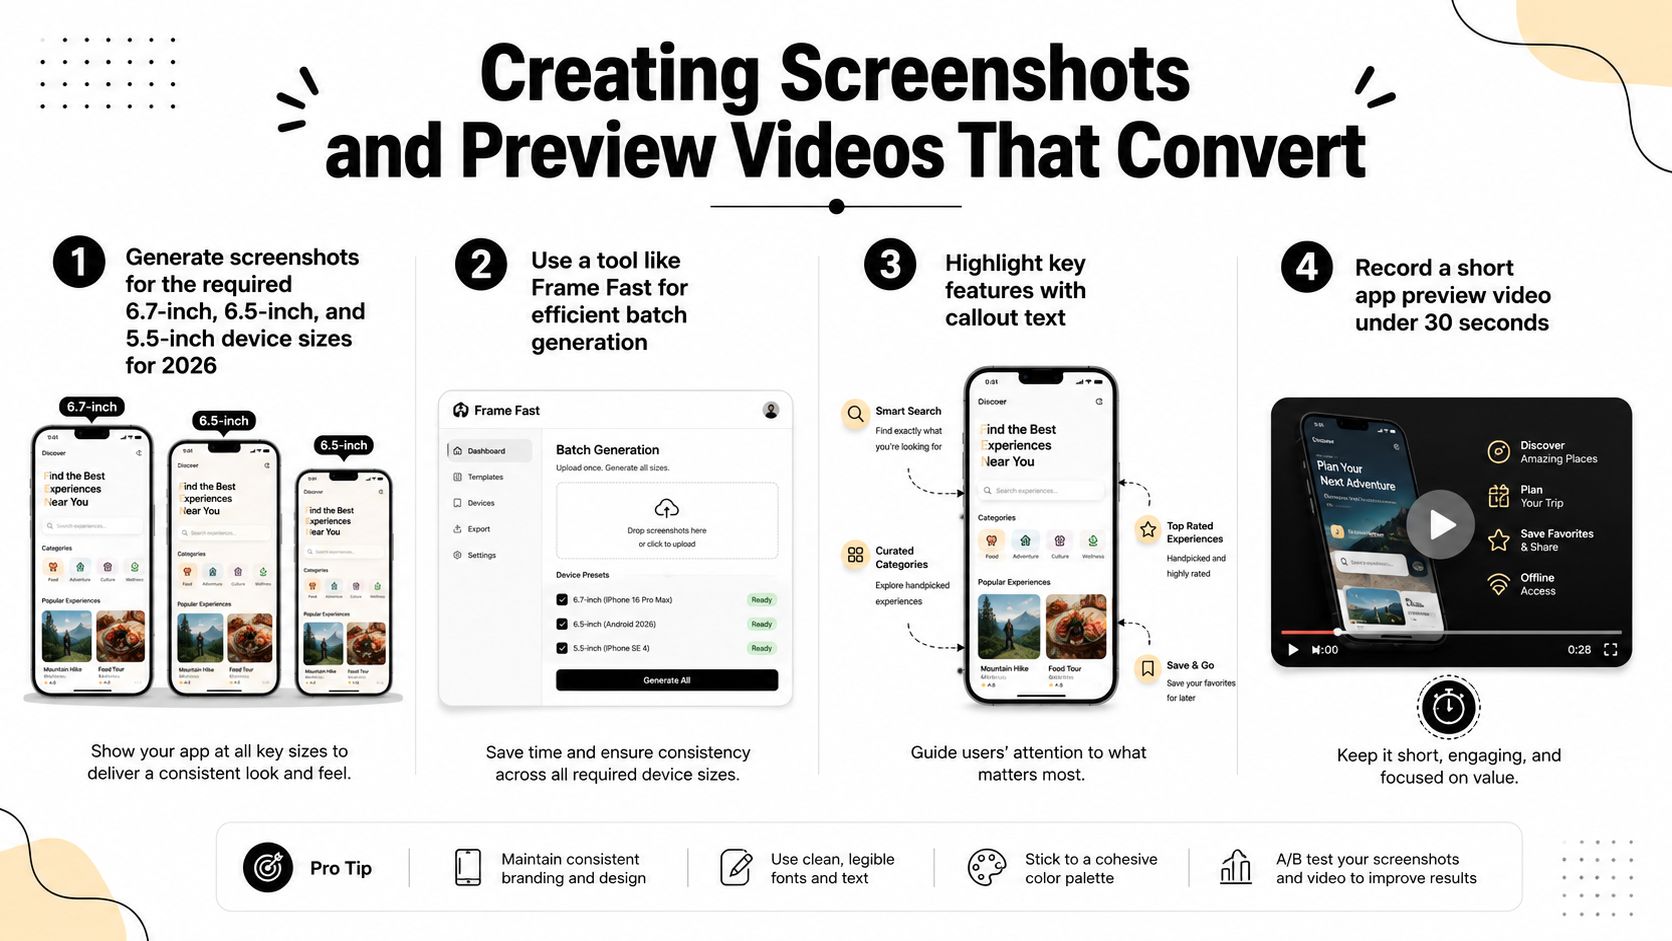
Use the first frames to show the React Native app's primary path, such as signing in, creating an item, and completing the core action. Use later frames for features that address likely objections. Callout text should name the visible result, not promise behavior that depends on an unseeded API state. If a screenshot says “instant export,” verify that export works with the review account and the backend data available during review.
<a id="use-a-repeatable-asset-workflow"></a>
Use a repeatable asset workflow
Capture the required device variants from one controlled release build. The supplied production plan identifies 6.7-inch, 6.5-inch, and 5.5-inch device sizes for 2026 in its visual guidance. Verify current App Store Connect requirements before upload because Apple can change accepted dimensions and supported device families.
Tools such as Frame Fast can batch-generate framed assets, but inspect the output manually. React Native layouts can expose differences in text wrapping, safe-area handling, dark mode, localized strings, keyboard behavior, and dynamically loaded content. A headline may clip or a button may move when the same screen runs on another device size.
A preview video helps when motion demonstrates onboarding, editing, navigation, or live collaboration more clearly than still images. Keep the sequence focused and short. The visual guidance for this launch playbook recommends a preview under 30 seconds, as shown in the infographic. Use the time to show the working path, rather than filling it with unsupported marketing claims.
Keep promotional artwork from covering the application UI. Reviewers should identify screens immediately, and users should encounter the same flow after installing. Compare each asset with the release candidate before submission, especially after JavaScript changes, native dependency updates, or metadata edits.
<a id="navigating-privacy-compliance-and-permissions"></a>
Navigating Privacy Compliance and Permissions
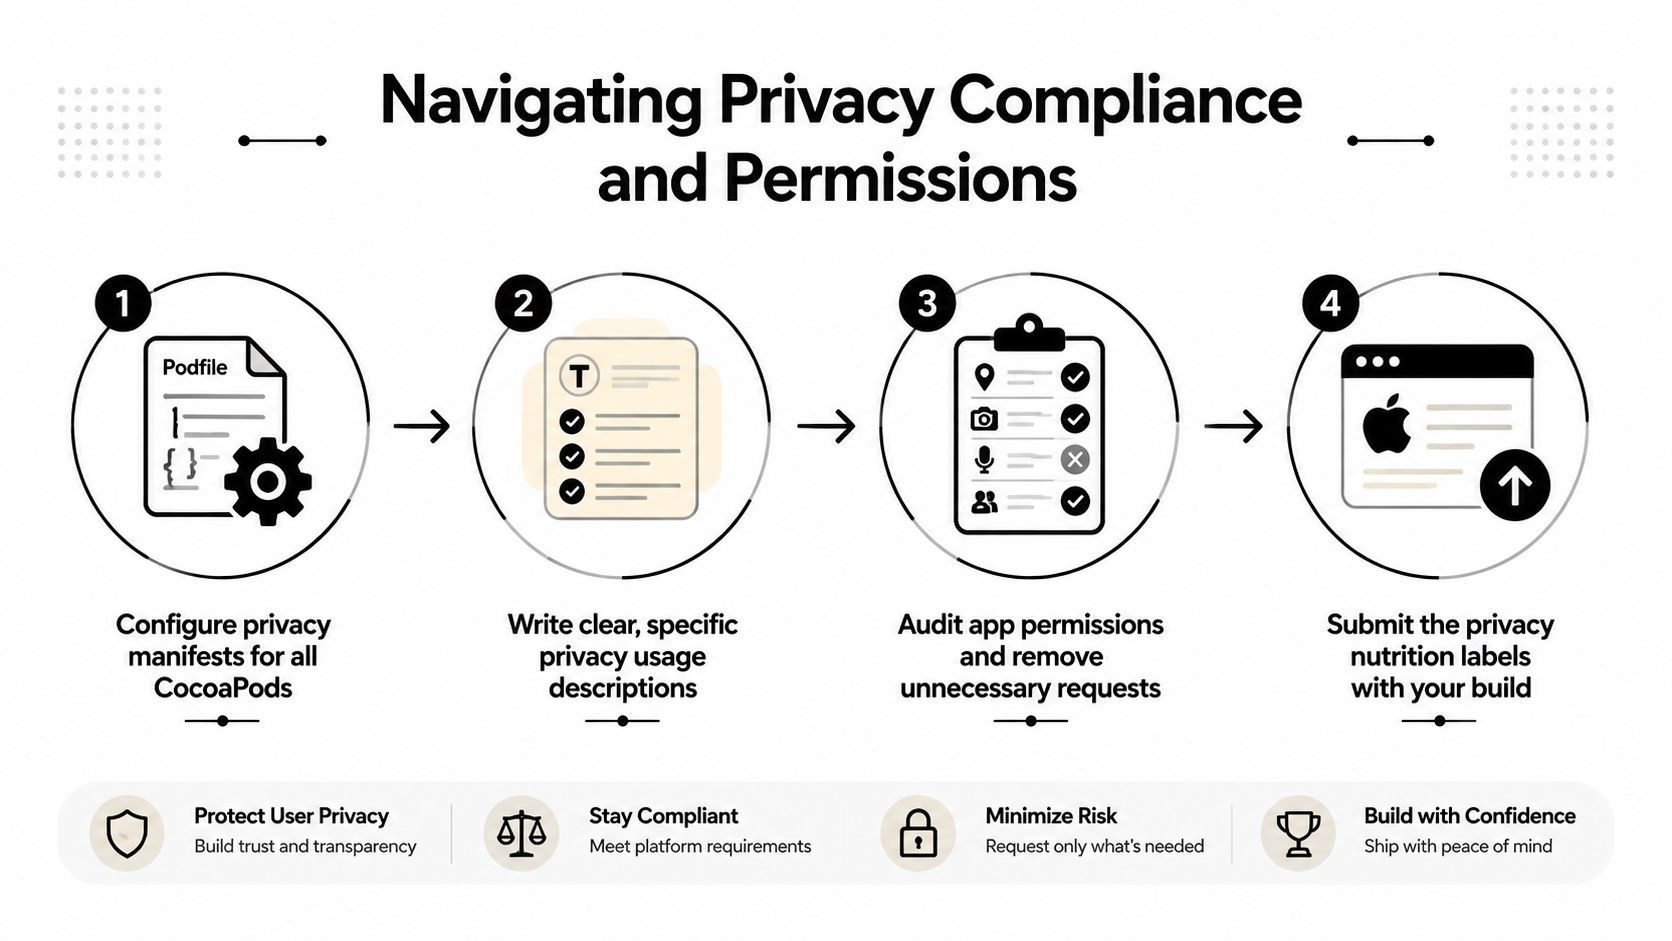
React Native apps frequently ship with privacy manifest gaps because third-party SDKs can inject usage descriptions and data-access declarations without the developer noticing. Analytics, authentication, payments, crash reporting, media, maps, and notification packages may all change the native compliance surface. Review the packaged application, not only the JavaScript your team wrote.
Recent React Native review guidance calls for checking merged Android manifests, iOS Info.plist usage strings, privacy manifests across pods, current screenshots, Data Safety answers, ATT, restore purchases, and account deletion flows, as described in this React Native app review compliance guide. A metadata mismatch or inaccessible reviewer path can delay approval even when the feature itself works.
<a id="audit-disclosure-from-the-outside-in"></a>
Audit disclosure from the outside in
List every permission, the SDK or feature that triggers it, and the exact point in the user flow where the request appears. Remove a camera capability if the release never scans documents. Remove location access if maps are no longer part of the product. For a retained permission, describe the visible action precisely: “Allow photos so you can attach an image to a project” gives reviewers a reason they can verify.
Then inspect the generated native artifacts:
- Info.plist: Confirm camera, microphone, photos, location, contacts, tracking, and notification descriptions match real screens and actions.
- Privacy manifests: Check manifests from the app and its pods. Verify declared access against actual SDK behavior after dependency updates.
- App Privacy details: Map collection, use, and linkage to the current release. Do not reuse an older declaration after changing analytics or account features.
- Android Data Safety: Reconcile Play Console answers with the app, backend, analytics, and account systems.
- Account deletion: If users can create accounts, provide deletion inside the app and verify that the backend removes or anonymizes related data.
- ATT and purchases: Test tracking authorization, purchase, restore, and entitlement flows in a production-like configuration.
Dependency updates can change your compliance surface even when your feature code doesn't change.
Open the privacy policy from the review environment. It must load, describe the product's actual practices, and agree with the store labels. A broken page or vague wording creates questions that a working build cannot answer.
The video below demonstrates review-oriented checks for permission and privacy flows.
<iframe width="100%" style="aspect-ratio: 16 / 9;" src="https://www.youtube.com/embed/bjYUkDjyctE" frameborder="0" allow="autoplay; encrypted-media" allowfullscreen></iframe><a id="understanding-common-rejections-and-how-to-respond"></a>
Understanding Common Rejections and How to Respond
A rejection message identifies a specific reviewer path failure. The useful question is what that reviewer experienced and whether another reviewer could reproduce it. For React Native apps, the answer often sits in native configuration, store metadata, reviewer access, or compliance drift rather than in JavaScript feature code.
A field dataset covering 41 React Native submissions found rejection clusters involving missing privacy policies or data labels, background activity violations, permission-justification gaps, crashes on review devices, incomplete metadata, and login barriers, according to the React Native App Store rejection dataset. Its percentages should be treated as warning signals, while the practical lesson is clear: a dependency update, changed permission, or stale listing can create an approval problem without changing the visible feature.
<a id="match-the-response-to-the-failure"></a>
Match the response to the failure
Read the reviewer message before changing code. Identify the cited guideline, reproduce the stated path, and record the build, account, device condition, and backend state. Then choose the response that matches the failure:
- Fix the behavior: Upload a new build when the app crashes, violates a permission rule, misrepresents content, or fails a required flow.
- Clarify the behavior: Reply in App Store Connect when the feature complies but is difficult to find. Provide exact navigation steps and describe the expected result.
- Provide access: Add demo credentials, test instructions, or reviewer notes when authentication, paid content, regional behavior, or setup could block inspection.
Reviewer access deserves special attention in React Native releases. A deep link may open correctly in development but fail from a clean install. A native module may require a production configuration that your test account never exercised. Give the reviewer a working account, explain any setup, and verify the path against the submitted artifact.
Avoid arguing from intent. Saying that location supports a helpful feature does not explain a prompt that appears before the feature is visible. State what changed, where it can be tested, and how the new build addresses the concern.
Approval can still hide React Native-specific release risk. A purchase may pass review while native purchase configuration, receipt handling, backend entitlements, or environment settings disagree for users. Dependency, permission, metadata, or account-flow changes can also reopen an accepted path. Keep a release record linking each native change to its compliance and review implications.
<a id="your-launch-readiness-checklist-and-next-steps"></a>
Your Launch Readiness Checklist and Next Steps
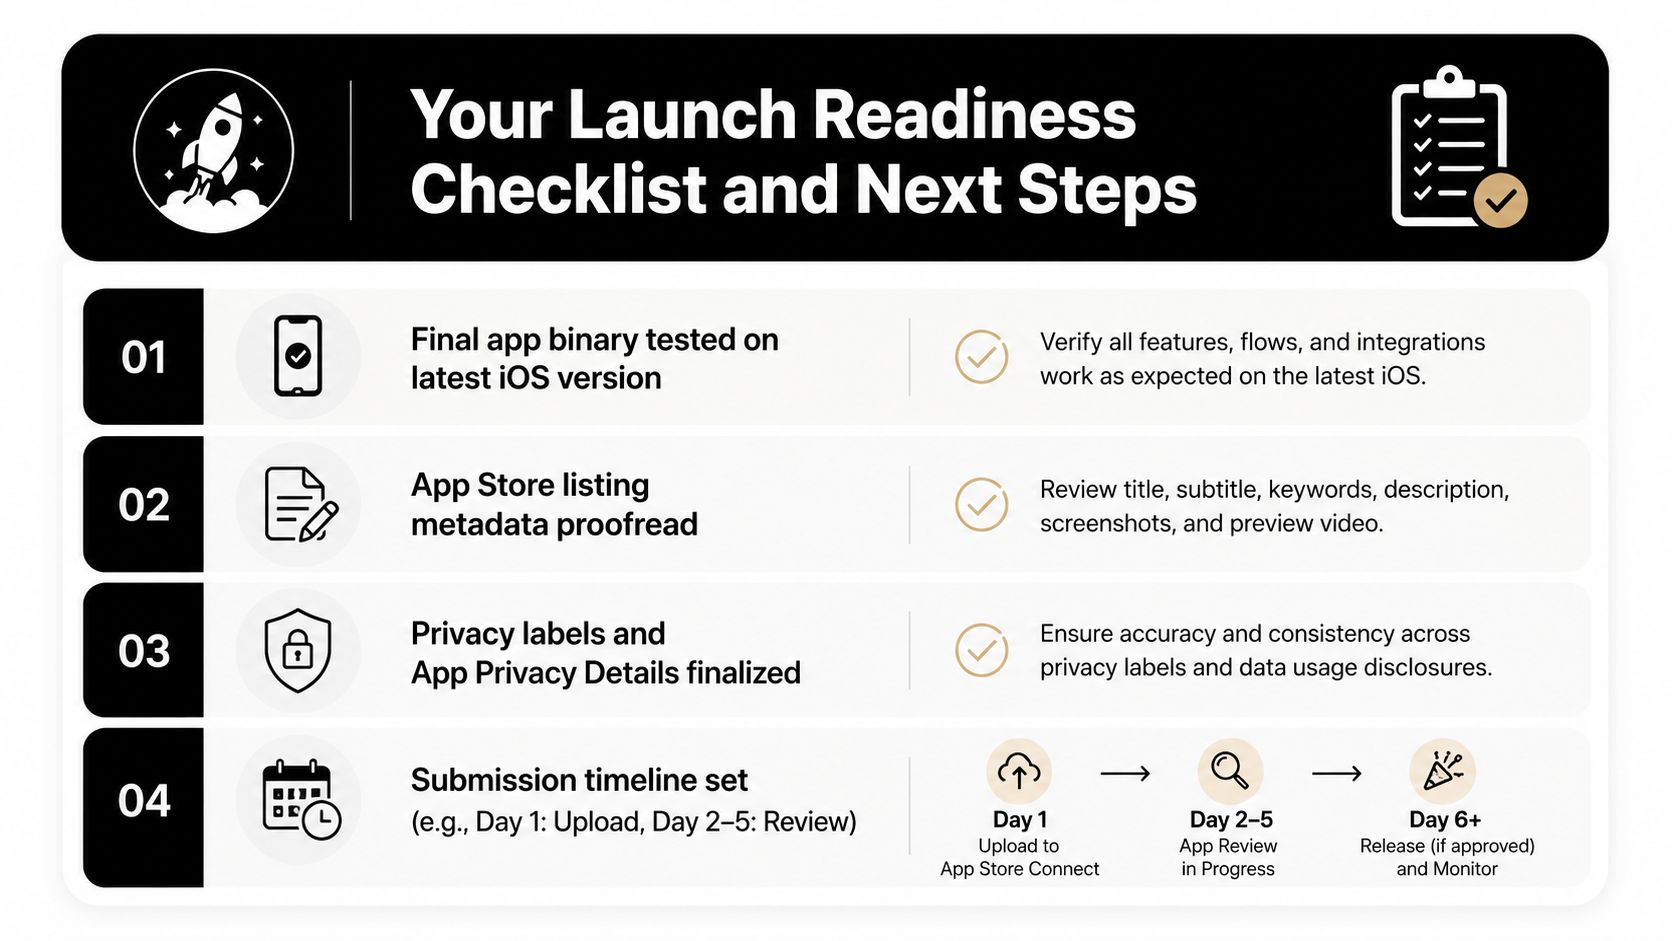
A launch is ready when another person can take the submitted build, follow the listing, access the main feature, understand the permissions, and complete the critical workflow without your intervention. Run that test after the final archive, not before the last dependency update.
<a id="use-a-final-release-gate"></a>
Use a final release gate
Before upload, assign an owner to each of these checks:
- Binary: Install the final release artifact on physical devices, test cold start, offline recovery, deep links, notifications, login, purchases, and account deletion.
- Native configuration: Confirm identifiers, entitlements, permission strings, manifests, privacy manifests, icons, version values, and production endpoints.
- Listing: Proofread the name, subtitle, description, keywords, age rating, URLs, screenshots, preview video, and release notes against the actual build.
- Review path: Supply working credentials, explain special setup, and test the reviewer journey from a clean account.
- Android access: For a new personal Google Play developer account, plan for a closed test with at least 12 opted-in testers continuously for at least 14 days before production access, as described in the Google Play closed-testing guidance.
Set the submission schedule around review uncertainty, backend verification, and any required testing gate. Don't schedule a public campaign for the same moment you upload. Keep the release paused if you need to confirm entitlements, server configuration, or support coverage after approval.
After approval, monitor crash reports, review user feedback, test the production purchase path, and verify that analytics and notifications work in the live environment. Save reviewer messages and accepted explanations. They become valuable context for the next update, especially when a dependency change affects permissions or privacy disclosures.
Teams that want someone else to manage the export-to-approved-submission path can use LetsDeployIt, which prepares store copy, screenshots, app icons, preview material, privacy and Terms hosting, compliance checks, reviewer notes, Play Data Safety details, signing, and the required Android closed test where applicable. The service supports React Native and Expo projects and manages submission and resubmission through launch.
If you want to remove the hidden approval work from your React Native launch, visit LetsDeployIt to have the store assets, privacy checks, signing workflow, testing requirements, and reviewer communication handled as one submission process. Bring your current Expo or React Native project and use the readiness checklist above to identify anything the team should verify before the build goes live.